
In the wiring of weak current projects, we usually bury the wire tube in the wall first. Such a hidden design will not affect the beautiful effect of decoration. However, after the AAAC Cables tube is buried, threading from the inside is a troublesome thing. Sometimes we can’t wear a wire after tossing for a long time. What should we do at this time?
In fact, the reason is that we don’t use the right way to thread wires. Let’s introduce a new way to thread wires. It’s so fast and professional for wires to go through pipes. Teachers and Fu all install it like this. It’s too smart!
01
What’s good for threading wires
The traditional wire threading method is generally to put a small steel wire in the wire pipe, then bend the steel wire to buckle the outer edge of the pipe, tie the wire to one end of the steel wire, pull the steel ACSR Cables on the other side, and then slowly pull the wire out of the pipe, but this construction method tests patience. Moreover, it will greatly increase the decoration time, and the operation is also more troublesome. If you meet a corner, sometimes it takes half a day to get the line out. So now more and more people are not using this method.
However, with the development of technology, some tools in decoration are constantly updated, so now smart masters no longer use steel wire rope, but use this, which can thread quickly without jamming. Now the outer skin of professional threading device is made of steel wire wrapped rubber, which has good hardness and smoothness. It is much stronger than the previous steel wire rope, and it is not easy to jam at the elbow. In particular, a pulley is installed at the thread feeding head, which is very popular with teachers.
This threading device is also very simple in operation. It can be used for the first time. Use the traction head of the wire to pass through the wire head, and then fix it with a professional tensioner. This kind of tightener not only has good fixing effect, but also is convenient for construction, which saves the threading time of the master. After the thread head passes through the tightener, wrap it into an 8-shaped shape, and then push it up with the fastening spring. It is not too convenient. This is why more and more masters like to use the tightener instead of the steel wire rope.
02
Let’s introduce several standard threading methods
1. The first is that some wires will be long, or when it is necessary to turn and wind in the actual environment, talc powder can be added to the pipe to facilitate the extraction of wires. Remove a little of the insulation material in the front section of the wire, and then slowly fix the wire core in the coil.
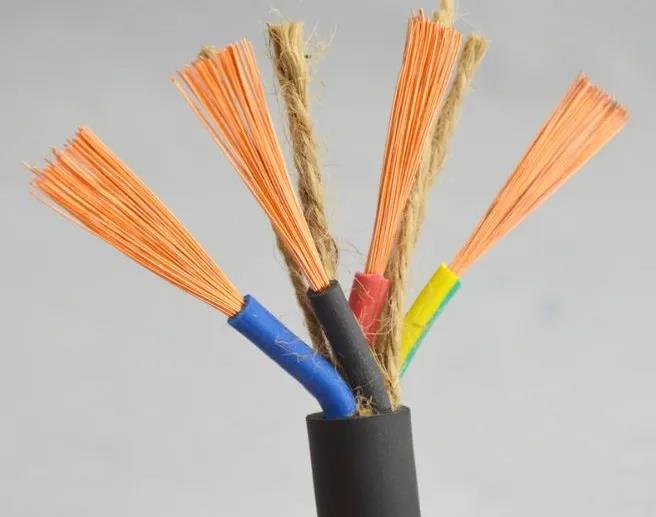
2. The more important point is: wires with different voltages and different circuits must not be threaded in the same conduit. In addition, if the circuits of multiple lamps will not interfere with each other, remember not to thread too much.
3. After the wires are strung, remember to cut off the wires. If you want to connect the blood to the switches, sockets and junction boxes, we remember to reserve more than 15 cm. In addition, more than half of the perimeter of the distribution box should be left in the distribution box. Oh, the wires outside the door should be left about one and a half meters.
03
Wire threading cannot be carried out casually, and the following points shall be ensured
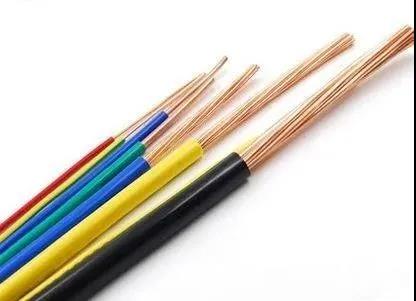
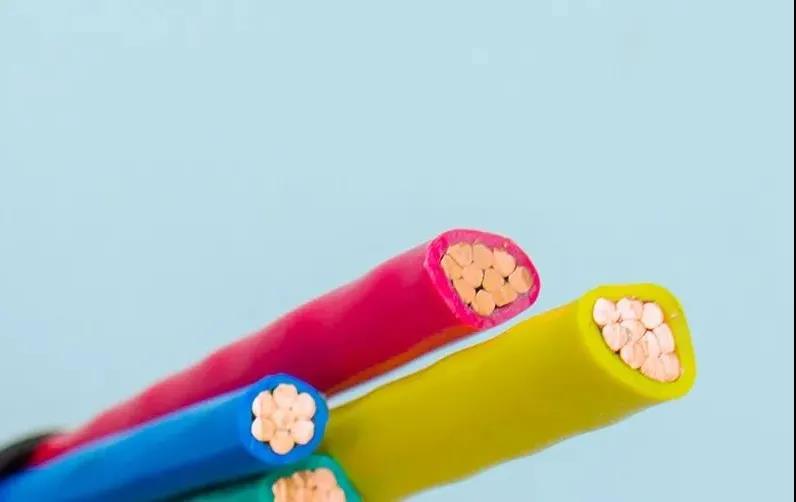
1. Be sure to select wires with good quality and large wire diameter. The threading pipe shall be flame-retardant PVC pipe. When purchasing, you can pinch it with your fingers. If it can’t be broken, it means that the quality is very good. If the economy permits, special galvanized pipe can also be selected.
2. In the same conduit, the number of wires passing through shall not be too much, and it shall be easy to pull. The popular standard is that the total cross-sectional area of the wires in the pipe shall not be greater than% of the total cross-sectional area of the inner diameter of the pipe, and shall not exceed
3. The inner wire shall be free of joints and kinks. The pipe sleeve shall be used when the pipeline is butted, the bend shall be connected with elbow or tee, and then glued with glue. The presser foot cap shall be used when connecting to the wire box, and the lock interface must be used between the wire pipe and the wire box.
4. High power electrical appliances such as floor heating and air conditioning should be wired separately, and electrical appliances such as refrigerators that are not suitable for frequent power cuts should also be wired separately. These electrical appliances should have separate switches at the main switch (air switch). If you go far away, you can turn off other power supplies, leaving only the refrigerator power on.
5. After the wire passes through the pipe, it is put into the slot and fixed with cement or quick drying powder, that is, several points are selected on a slot for sealing and fixing. When installing the cassette, the wall hole where the cassette is placed should be larger. Cement can be embedded in the gap between the cassette and the wall hole to fix the cassette firmly to prevent loosening in the future.
6. After the wiring is completed, the decoration company must leave a detailed “pipeline diagram”, number the wall, draw the direction and specific position of the wire with a pen, indicate the size from the upper floor to the lower floor and adjacent wall, especially the joint position of the pipeline. With such a detailed, it will be much more convenient to overhaul the ABC Cables in the future.
From the above points, we can know that it is necessary for wires to go through pipes in the process of decorating circuits. Now experienced masters will choose new types of threading appliances for wire threading. It is fast and professional to wear wires with it. Friends who like it might as well try it.